Creating a prototype for your mobile app plays a crucial role in its successful launch. It helps you steer ahead of your rivals and pitch a better idea to the target audience and investors.
But, what is a mobile app prototype, why is it important, and how can we create one? Also, how to pitch it to investors? Let’s explore these questions in this blog.
What is a Mobile App Prototype?
A prototype shows how a mobile app will function. In mobile app development, a prototype starts with sketches that evolve into a final product. The purpose is to communicate the app’s design and navigation flow for efficient development. Prototyping allows mobile app developers to detect errors at the early stages of a project, saving cost.

Further, prototypes play an essential part in designing a user-friendly mobile app. It’s a continuous iteration until the app reaches a point where it can provide maximum user value. The process reveals newer opportunities and guides the team in taking the best direction during app development. Prototyping is cyclical, where developers review and refine their app concept continuously.
Why is Mobile App Prototype Important?
Prototyping is bringing your mobile app idea to life. Here are the benefits of this process:
- It lets you explore new ideas and design methods. Prototyping also helps you decide which features need improvement.
- Prototyping lets you involve your clients in the development process. You can get their feedback before moving to the next stage.
- The prototype will show how the final app will look, ensuring that clients who are funding the project feel assured about their investment.
- The prototype also lets you know if there is market demand for the app by running it through a user test.
What Are The Essential Steps For Creating Mobile App Prototype?
Here are the essential steps for creating a mobile app prototype:
1] Understand the Problem
When coming up with an app idea, ask yourself, is this problem worth solving? The problem could be anything.
Often people start building an app because their idea sounds fantastic on paper, which is a recipe for failure.
Before building the app, you need to define its purpose, which requires a deeper understanding of the targeted industry, the competitors, the company, and audience goals. Come up with features that resolve the pain points of the users. Only after that should you begin building your app.
By doing this step, your app will not end up in the App store graveyard.
2] Identify Key Functionality Requirements
After identifying the problem, it’s time to brainstorm product requirements. In this step, create a list of features you will add to your app. It should be the ones that are beneficial for your target audience.
Here is Instagram’s example of what the list would look like:
- Photo capture
- Photo feed
- Social accounts
- Photo filters
- Comments + likes
- Search functionality
- Private accounts
- Account discovery
- Online advertising
- Video stories
You don’t have to come up with a long list; even 3-4 features are enough at the start. Once you have released the app in the market and if the audience reception is positive, you can add more features on the go.
3] Create Sketches of the Primary Screens
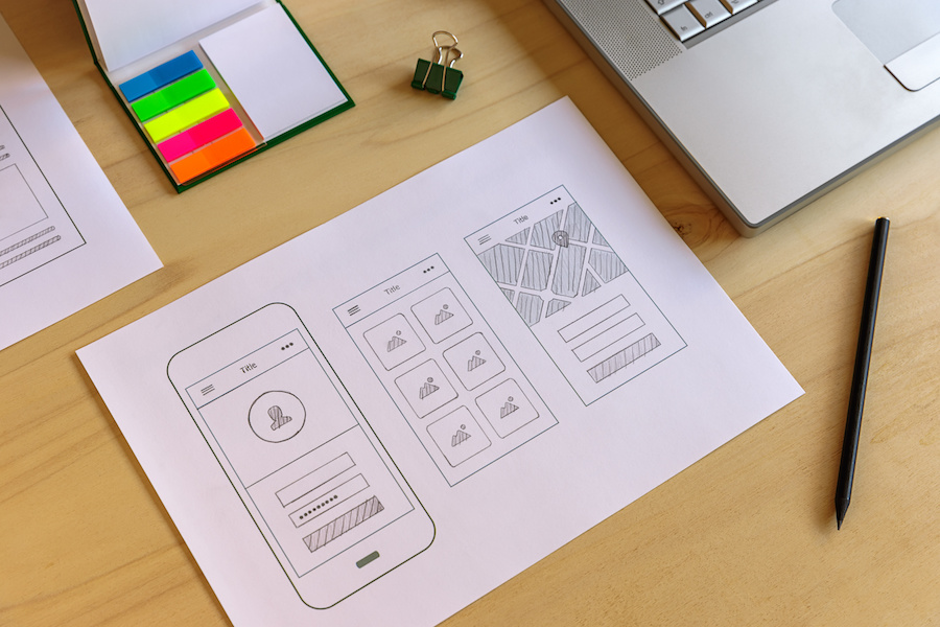
The next step is to think about the user experience. Start with a few rough sketches of how the primary screens should look and feel. Here is an example:
4] Turn Your Sketches into Wireframes
With sketching complete, it’s time to start wireframing.
What is a wireframe? Wireframing lays the groundwork for your app. It’s an outline of your application consisting of boxes, words, lines, and descriptions.
5] Turn Wireframes Into a Prototype
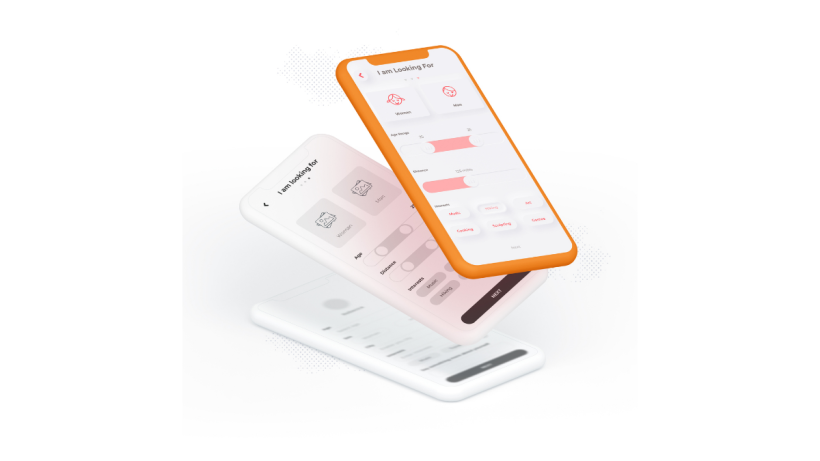
With tools like InvisionApp and Xcode, you can turn your wireframes into a basic prototype. Your team can then test the app and get feedback for it.
Prototyping helps your QA team to get a natural feel of using the app and lets your developers tinker with UX before finalizing the design. For investors, it’s an assurance that the application is well on its way to release in the market.
6] Translate Wireframes into Final Designs
It’s time to transition to pixel-perfect designs. You can hire app development companies if you don’t have the skills to implement it yourself.
You can use Sketch or Illustrator to create your app designs. After having the final files, update your Xcode or Invision prototype to get a glimpse of the live version.
Tips for Sharing Your Prototype With Investors
With all the heavy lifting done, it’s time to share your prototype with the investors.
Referral or sending a cold email is one of the best options to get into an investor meeting. Here are seven tips for sending cold emails to investors:
- Keep your email short
- Use bullet points to show your company’s best parts
- Make the email scannable
- Avoid attaching a deck in the first email
- Use an email tracker
- The call to action is to land a meeting
- Don’t hesitate to get a follow-up
If you have landed in a meeting, keep in mind the following things:
- A story surrounding your application why should investors invest in it
- A pitch deck showcasing the problem, solution, and business model
- A short one-pager as a leave behind for investors
- Your app’s prototype for a demonstration to the investors
Be transparent regarding your prototype.
Conclusion
Creating product requirements, sketches, mockups, and prototypes for your app idea can be complicated. It’s a time-consuming process and could take months if you build an app for the first time.
Don’t worry! Get in touch with the leading mobile app developers at GoodTal to turn your app idea into a reality. You will get the lists of the best app developers with streamlined workflow at an affordable rate. Building an app will no longer be a hassle for you.
Laila Azzahra is a professional writer and blogger that loves to write about technology, business, entertainment, science, and health.
